


Red velvet thumbprint cookies are the perfect mix of rich red velvet and sweet cream cheese. They’re perfect for Christmas, Valentine's Day, or anytime you want a little sweet bite.

One of my most popular recipes is for red velvet cupcakes with cream cheese frosting, and they are good for just about any occasion.
I knew making red velvet cookies would be just as delicious, but I wanted to keep the cream cheese frosting. It only made sense to make red velvet thumbprint cookies.
Ingredients
- All-Purpose Flour
- Unsweetened Cocoa Powder
- Baking Powder
- Salt
- Butter
- Shortening
- White Granulated Sugar
- Large Whole Egg
- Egg Yolk
- Pure Vanilla Extract
- Red Icing Gel or Food Coloring
- Cream Cheese
- Sour Cream
- Cornstarch
How to Make Red Velvet Thumbprint Cookies
- Preheat the oven to 350℉. Line a baking sheet with parchment paper or a silicone baking mat.
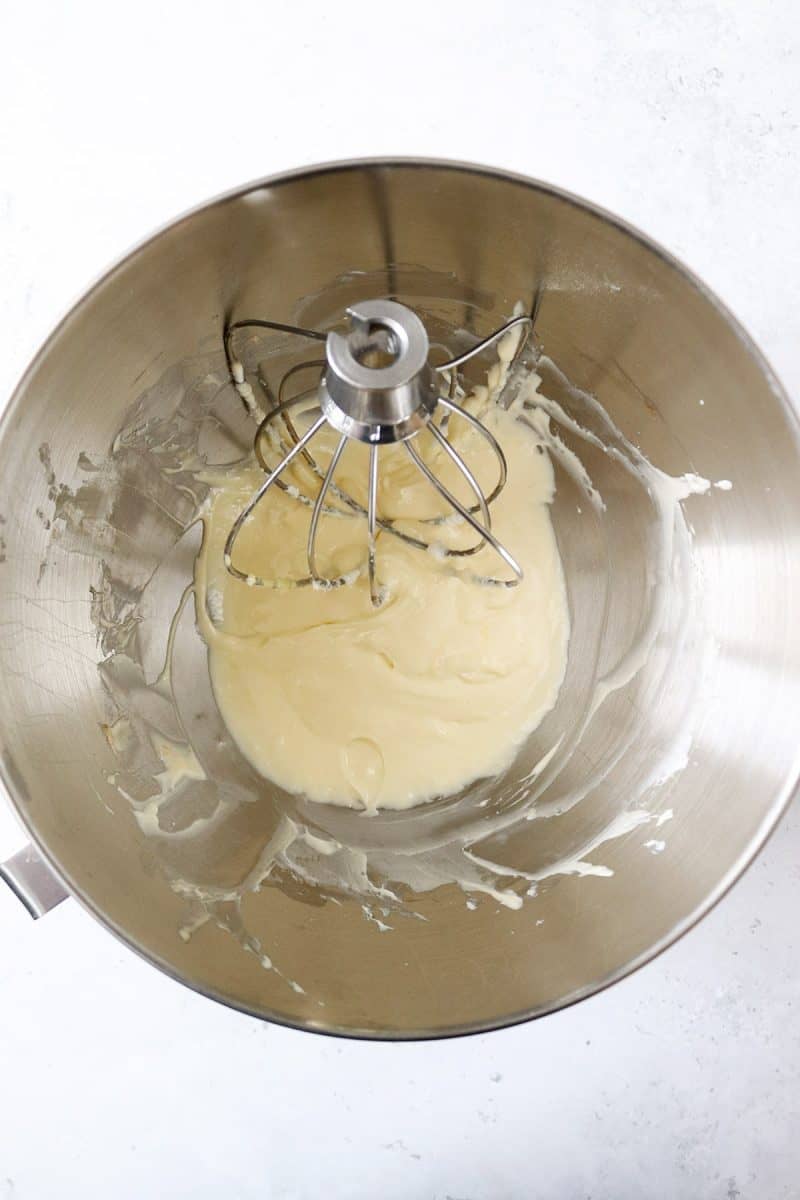
- Make the cream cheese filling by beating the sugar and cream cheese until fluffy. Add sour cream, vanilla, egg yolk, and cornstarch, and mix well. Set aside.
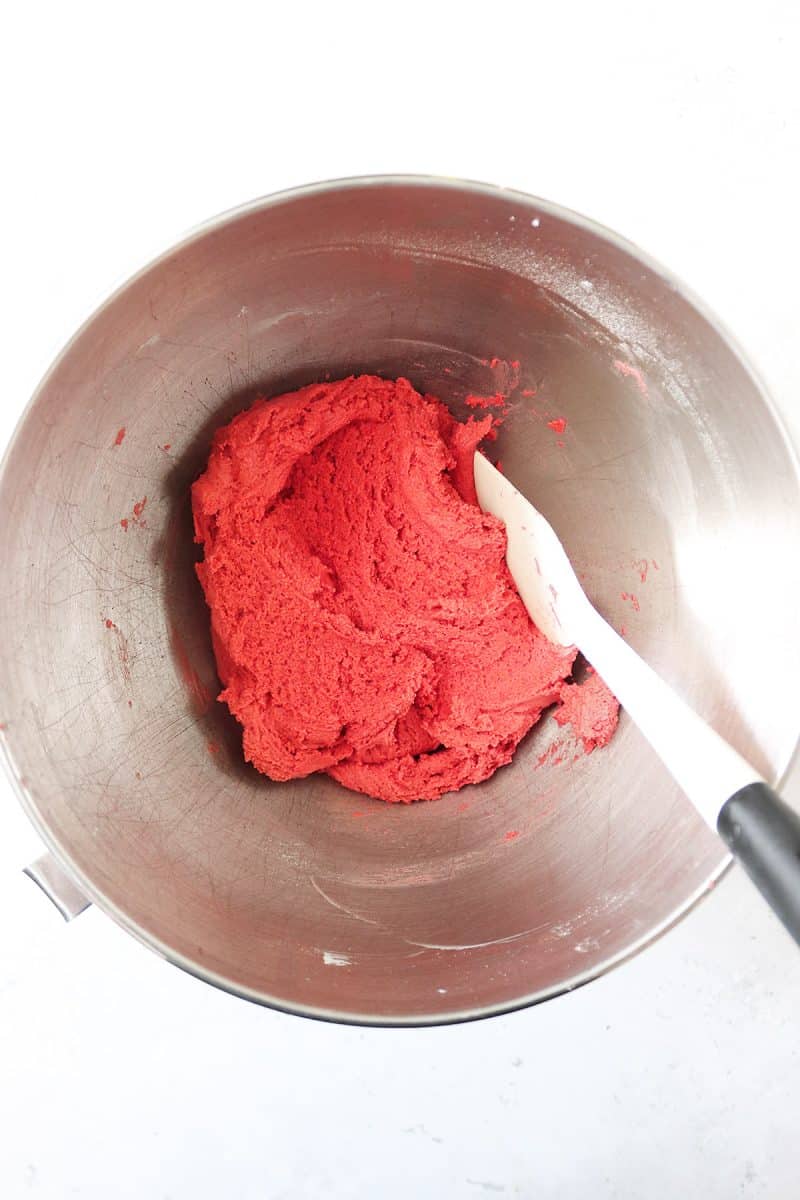
- Beat together butter, shortening, and sugar until fluffy. Add egg, vanilla, and red icing gel, and mix. Whisk or sift together dry ingredients: flour, cocoa powder, baking powder, and salt. Add dry ingredients to the wet ingredients and mix until combined.
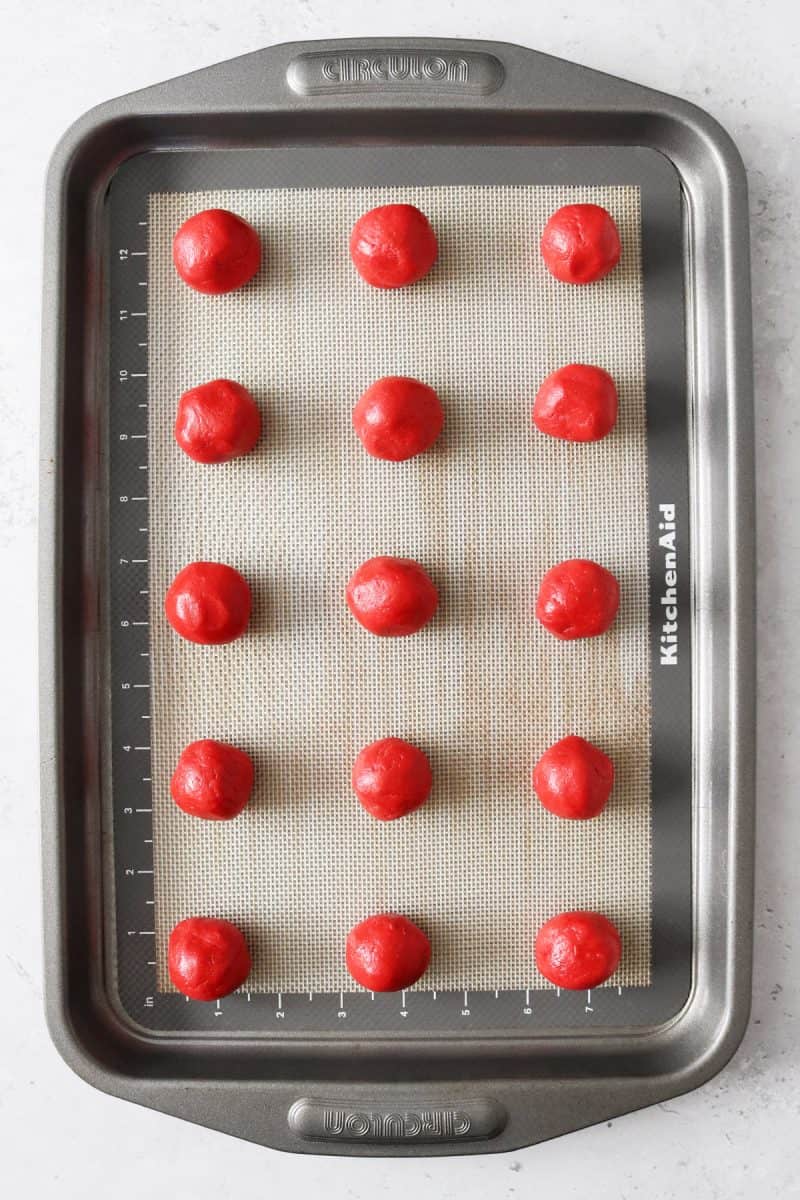
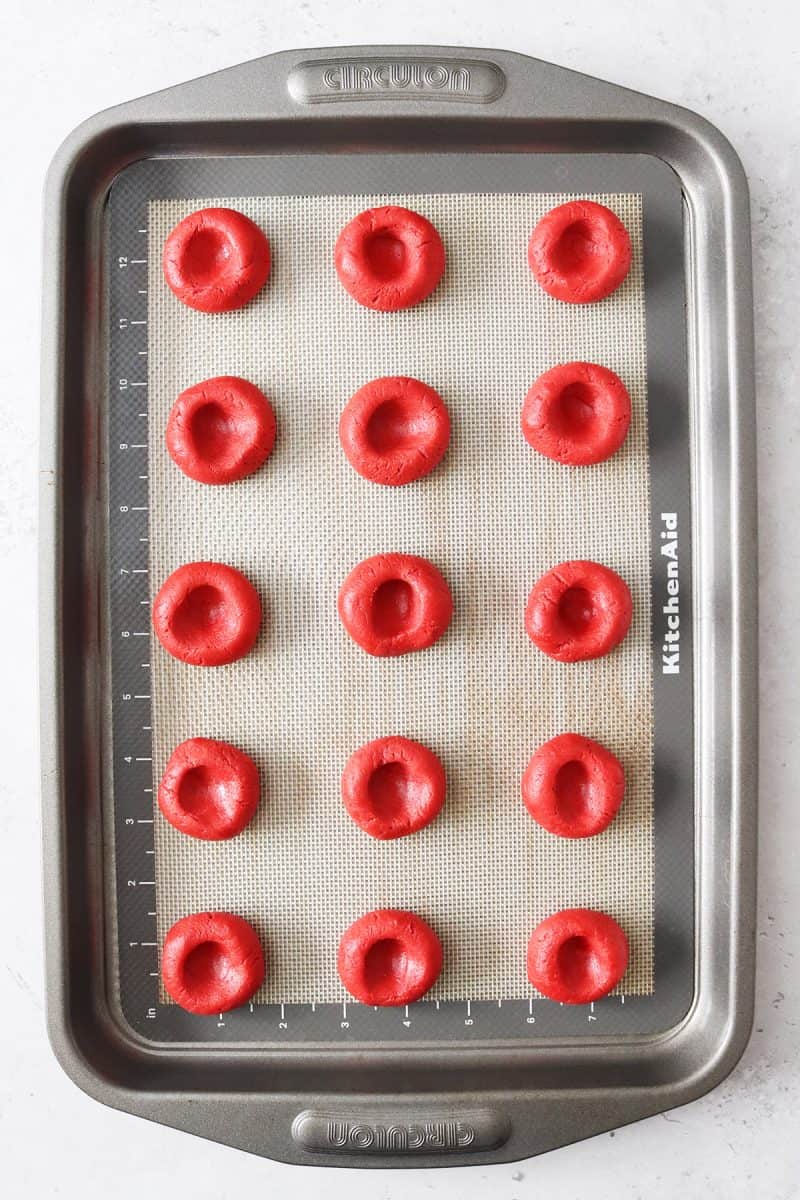
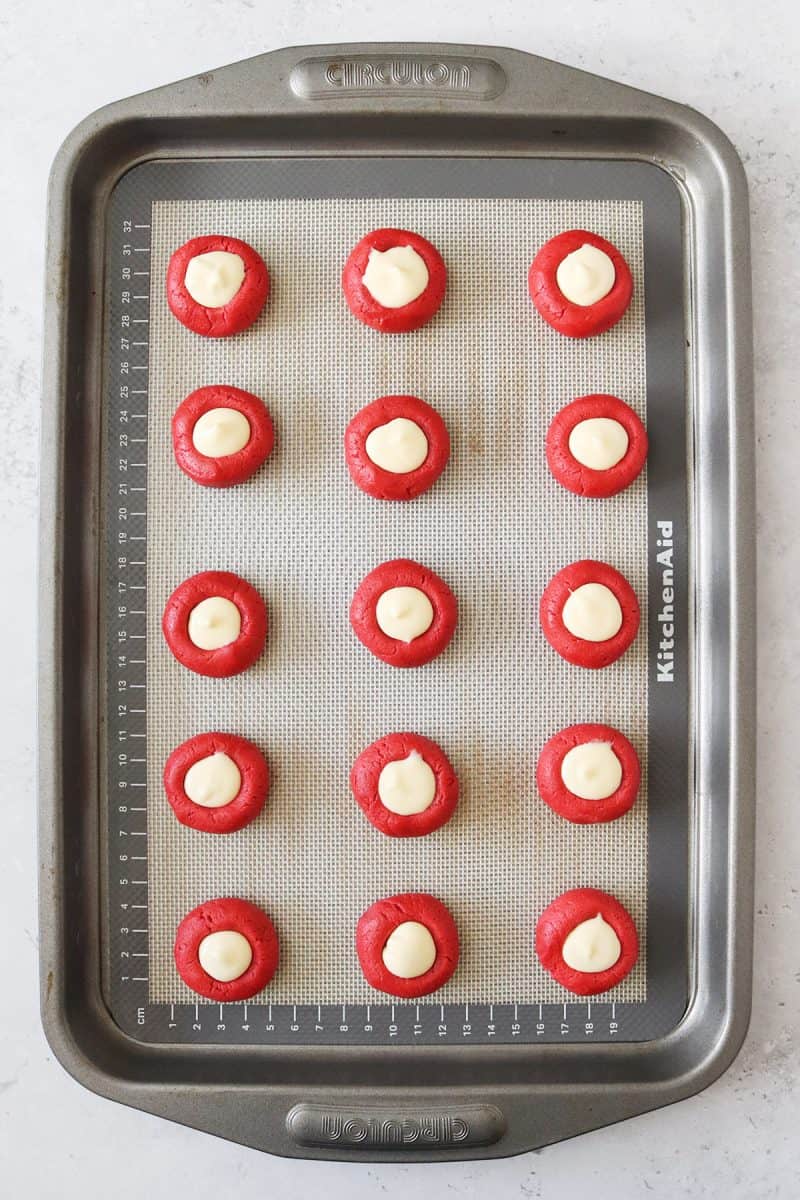
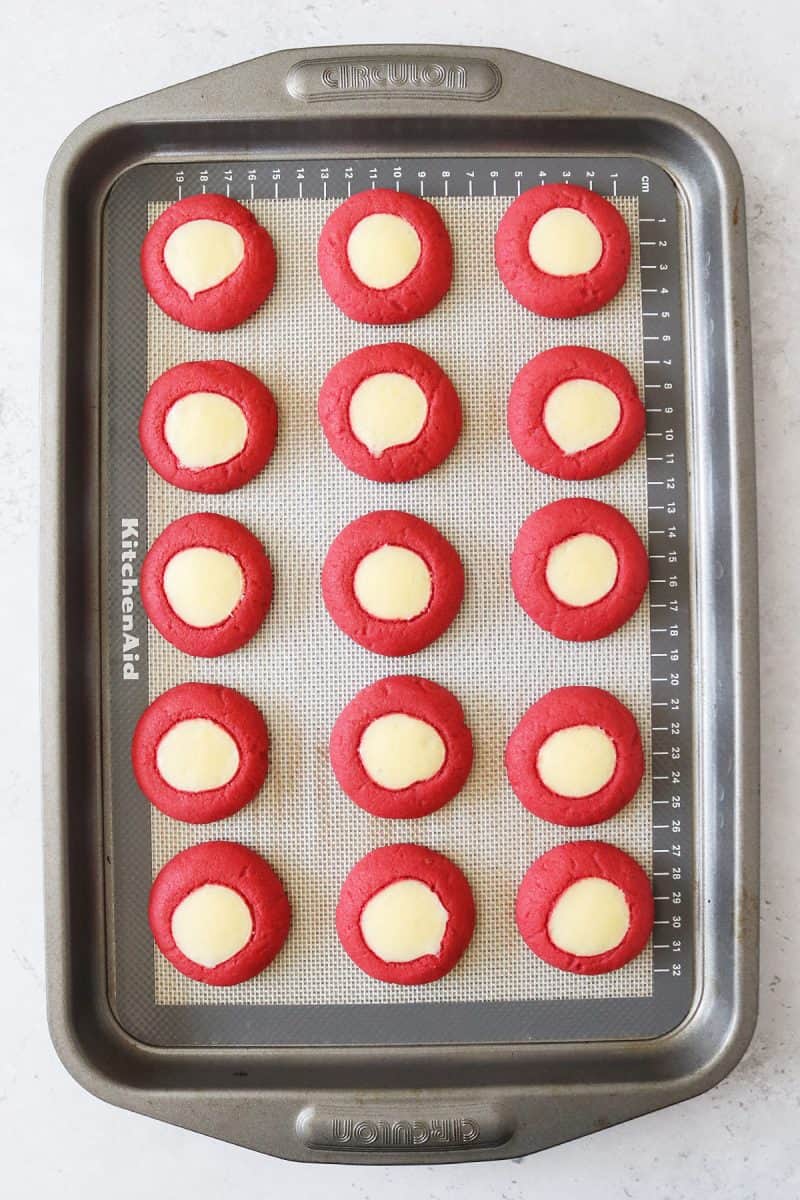
- Using a small cookie scoop, scoop the dough into your hands and roll it into a ball. Place them 2″ apart on the prepared baking sheets. Press a teaspoon or your finger into each ball of dough, making an indentation. Fill each indentation with cream cheese filling.
- Bake for 12-13 minutes, or until they are set. Let fully cool.
Variations
- Add a white chocolate drizzle with white sugar pearls after baking.
- Christmas – Sprinkle crushed candy canes or red sanding sugar on top.
- Valentine's Day - Top the filling with heart sprinkles or drizzle pink candy melts.
- Try a chocolate ganache or Nutella filling instead of cream cheese.
- Sprinkle a little red velvet cookie crumbs over the filling.

Tips
Use a cookie scoop - A cookie scoop helps keep each cookie the same size before rolling them into balls.
Store in the fridge - Because of the cream cheese filling, keep them refrigerated in an airtight container for up to 5 days.
Freeze unfilled cookies - Bake and freeze the cookies without filling for up to 2 months. Thaw and add filling before serving.

Recommended Recipes
- 35 Bakery-Style Frosted Drop Cookies
- Chocolate Thumbprint Shortbread Cookies
- Christmas Candy Cane Cookies
- Christmas Tree Drop Cookies
- Holiday Linzer Cookies
- Kolacky Cookies
- Red Velvet Crinkle Cookies
- Red Velvet Cupcakes
- Red Velvet Drop Cookies
- Turtle Bonbon Cookies
- White Chocolate Raspberry Thumbprint Cookies

Red Velvet Thumbprint Cookies
Ingredients
Red Velvet Cookies
- 6 tablespoons Butter room temperature
- 4 tablespoons Shortening room temperature
- ⅔ cup White Granulated Sugar
- 1 teaspoon Pure Vanilla Extract
- 1 ½ cups All-Purpose Flour
- 3 tablespoons Unsweetened Cocoa Powder
- 1 teaspoon Baking Powder
- ¼ teaspoon Salt
- 1 Large Egg
- 5-6 drops Red Icing Gel or Food Coloring more if needed for a deep red color
Cream Cheese Filling
- 4 ounces Cream Cheese room temperature
- 2 tablespoons White Granulated Sugar
- 1 tablespoon Sour Cream
- 1 teaspoon Pure Vanilla Extract
- 1 Egg Yolk
- 1 teaspoon Cornstarch
Instructions
- Preheat the oven to 350℉. Line a baking sheet with parchment paper or a silicone baking mat.
- Make the cream cheese filling by beating the sugar and cream cheese until fluffy. Add sour cream, vanilla, egg yolk, and cornstarch and mix well. Set aside.
- Beat together butter, shortening, and sugar until fluffy. Add egg, vanilla, and red icing gel, and mix. Whisk or sift together dry ingredients: flour, cocoa powder, baking powder, and salt. Add dry ingredients to the wet ingredients and mix until combined.
- Using a small cookie scoop, scoop the dough into your hands and roll it into a ball. Place them 2" apart on the prepared baking sheets. Press a teaspoon or your finger into each ball of dough, making an indentation. Fill each indentation with cream cheese filling.
- Bake for 12-13 minutes, or until they are set. Let fully cool.




Leave a Reply