


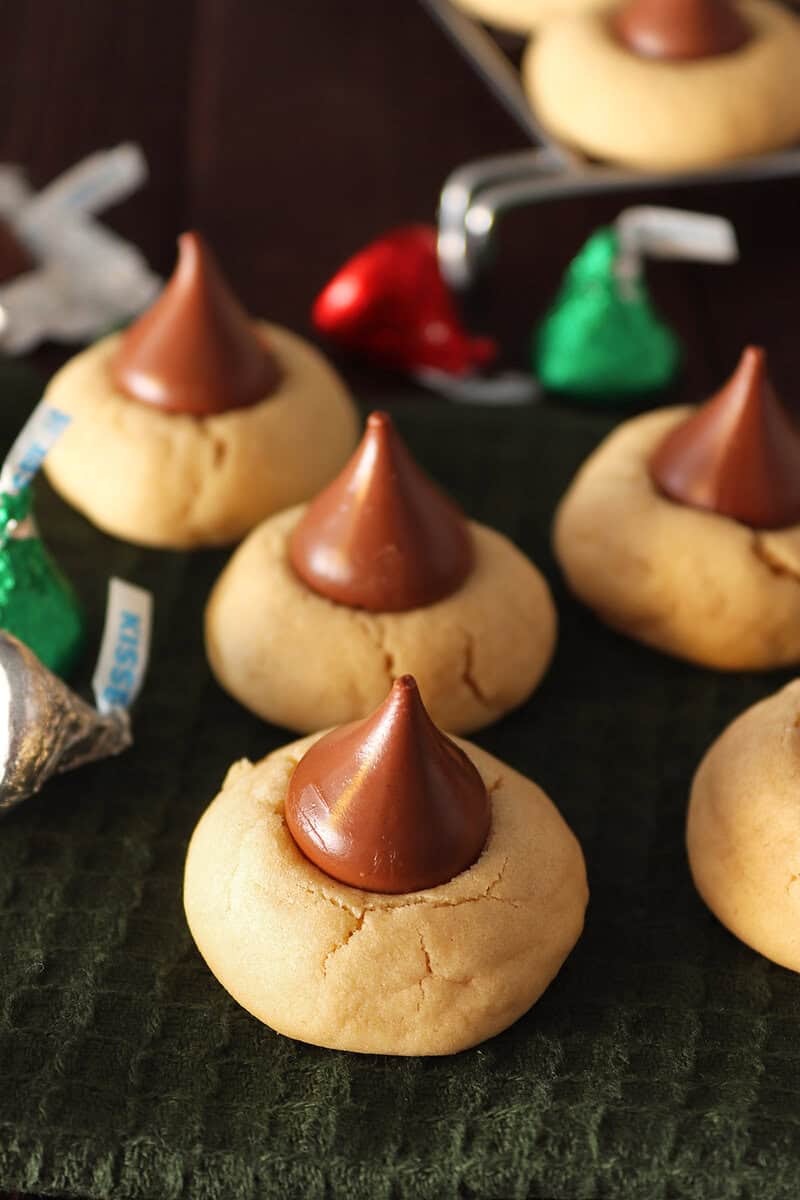
Chocolate thumbprint shortbread cookies made with melt-in-your-mouth chocolate and a shortbread cookie crust.

These are not the popular peanut butter blossom cookies. I had to say that right off the bat. They look just like them, but there are no peanuts in this recipe.
I created this recipe because I wanted to recreate a chocolate thumbprint shortbread cookie my brother and I used to eat as kids after school.
Upon searching the internet I found they were called Keebler Sweet Spots. They came in packs of 4 on white, rectangle cardstock liner in a clear plastic package. This was in the mid 90’s, mind you, so it’s been easily 30 years since I last had them.
While these aren’t an exact copycat of those cookies, they are delicious little gems.

Picking a Chocolate Topping
I’ve made this recipe countless times with different chocolate toppings. I also used Ghirardelli’s Thumbprint Drops, not realizing they’re a flat version and more like a wafer.
I’ve used Hershey’s Kisses, which are my favorite.
Brach’s Chocolate Baking Stars were my least favorite because the flavor was too rich with a shortbread cookie that’s already pretty rich tasting.
I prefer the Hershey Kisses and their cool chocolate bite, but the choice is yours on which to use. I included them all on the recipe card.
Ingredients
- Butter
- Packed Light Brown Sugar
- Egg Yolk
- Pure Vanilla Extract
- All-Purpose Flour
- Salt
- Hershey Kisses, Brach’s Chocolate Baking Stars, or Ghirardelli Baking Milk Chocolate Thumbprint Drops
How to make Chocolate Thumbprint Shortbread Cookies
- Preheat oven to 375℉. Spray a cookie sheet with cooking spray or line it with parchment paper or a silicone mat.
- Cream butter and brown sugar together in an electric mixer or with a hand mixer until it is light and fluffy. Add vanilla and egg yolk and mix on a low speed.
- In a separate bowl, whisk together flour and salt. Slowly add the flour mixture to the mixing bowl and blend well on low.
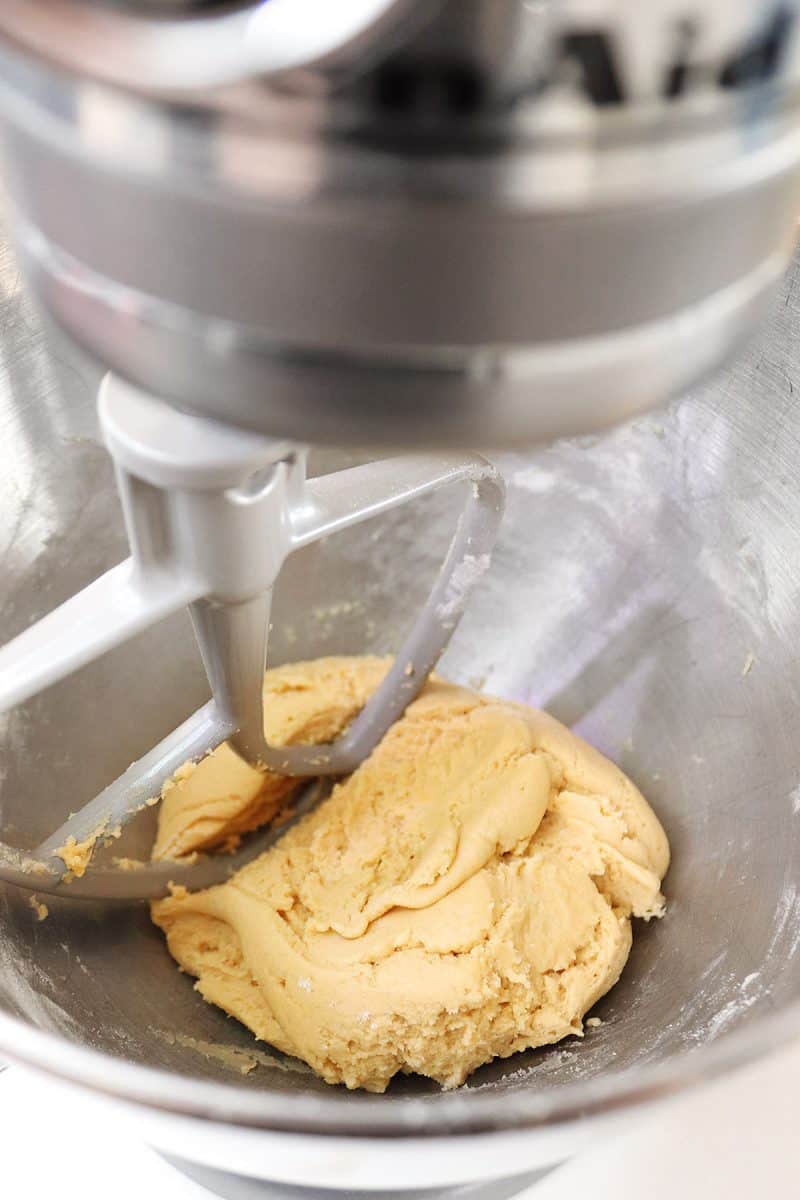
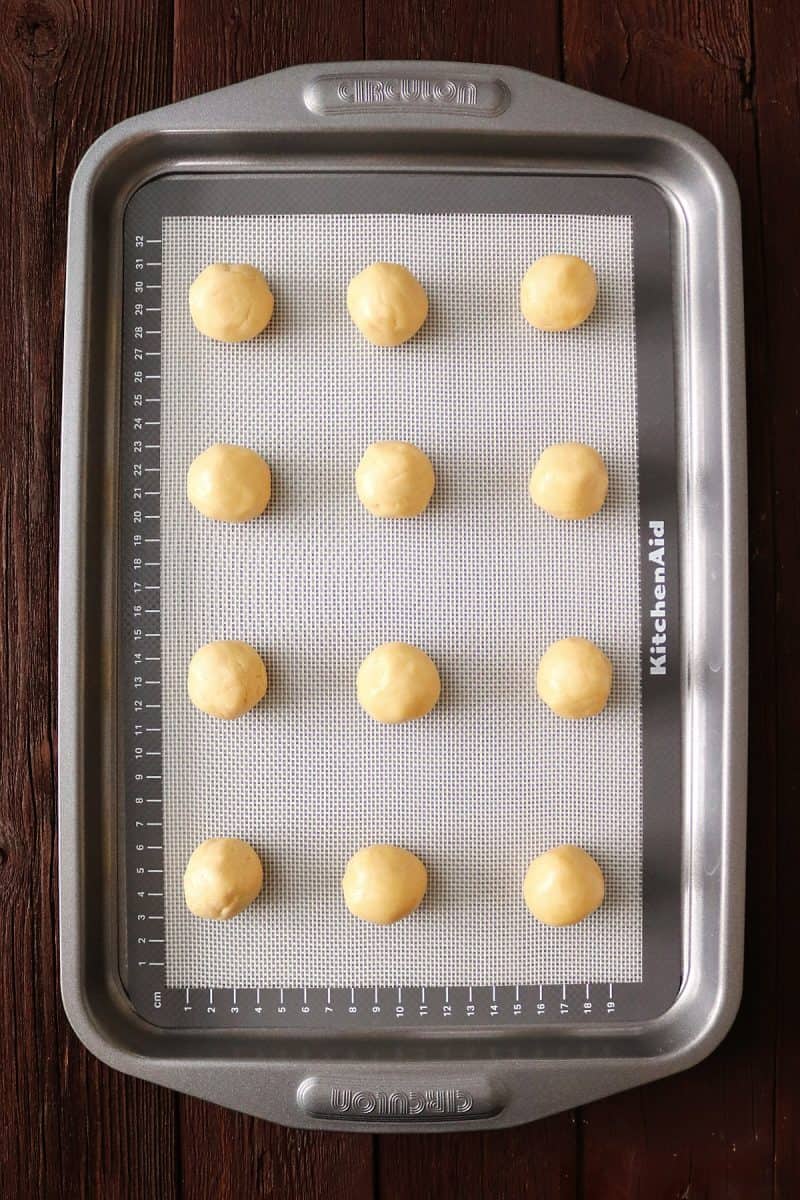
- Roll dough into 1″ balls and place them 1″ apart on a cookie sheet. I like using a small cookie scoop to get the right amount and then rolling it in my hands to get each one the same size.
- Bake for 6 minutes. Remove the pan from the oven and press a chocolate Kiss or star on each cookie while it is still hot. Place it back in the oven for 2-3 additional minutes until the cookie is set.
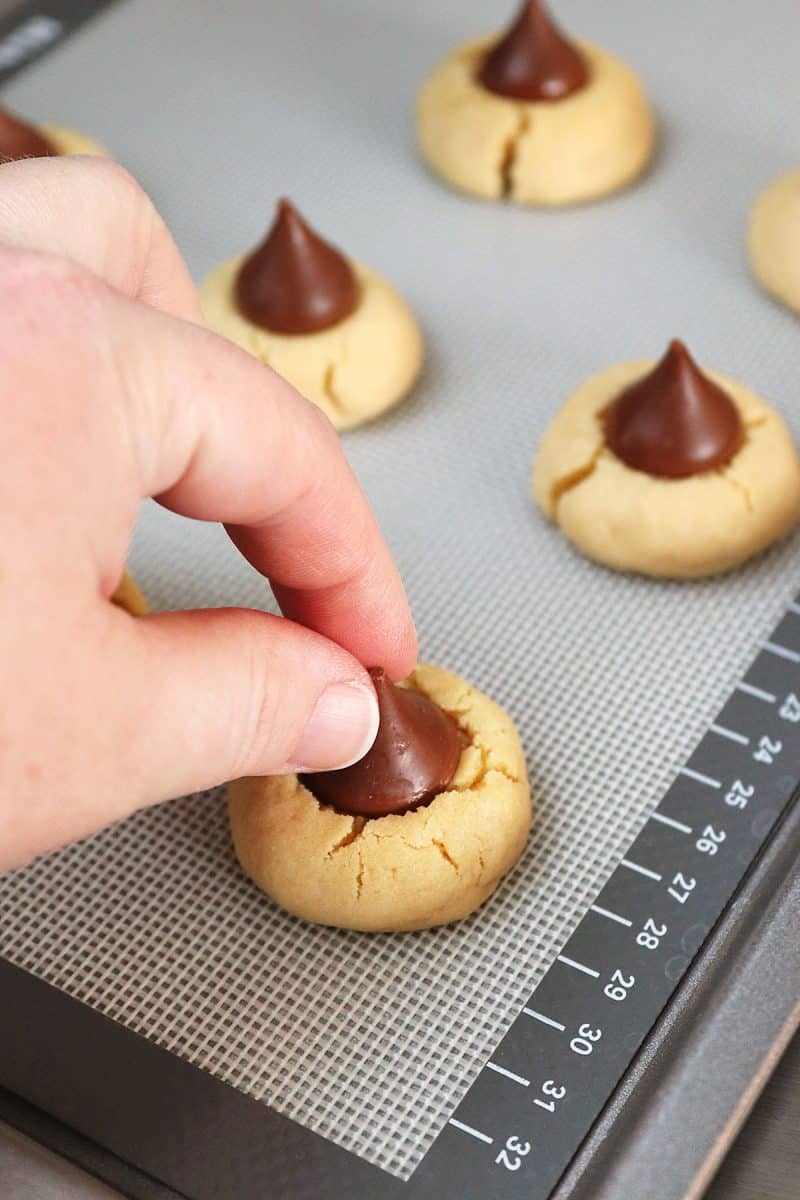
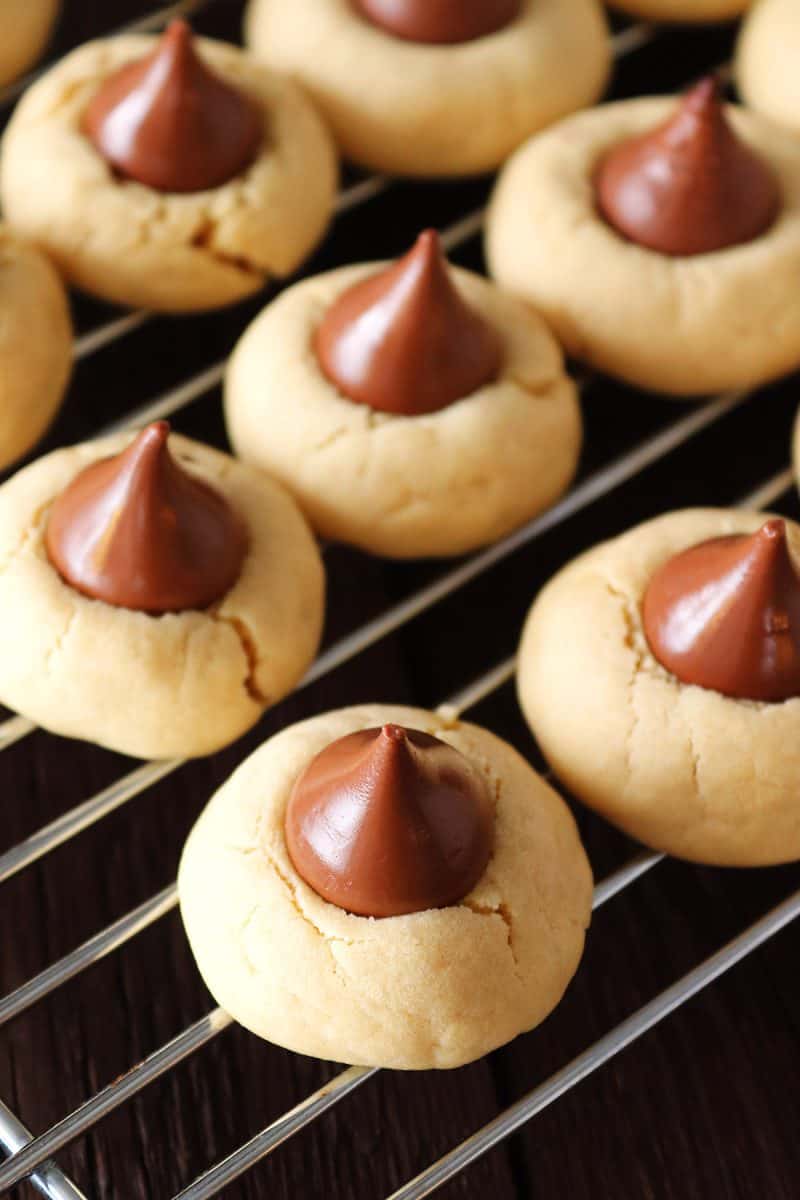
- Move cookies to a cooling rack until completely cooled. Store in an airtight container.

Recommended Recipes
- Bakery-Style Peanut Butter Drop Cookies
- Caramel Cookies with Chocolate Icing
- Christmas Candy Cane Cookies
- Dubai Chocolate Drop Cookies
- German Sweet Chocolate Drop Cookies
- Peanut Butter Cookie Cups
- Peanut Butter Fudge Stripe Cookies
- Red Velvet Drop Cookies
- Red Velvet Thumbprint Cookies
- Turtle Bonbon Cookies
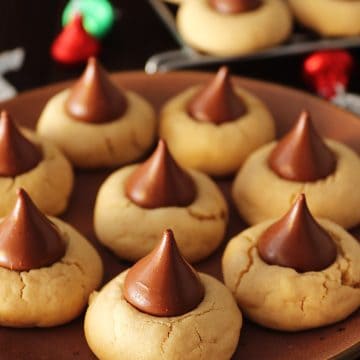
Chocolate Thumbprint Shortbread Cookies
Ingredients
- ½ cup Butter room temperature
- ½ cup Packed Light Brown Sugar
- 1 Egg Yolk
- 1 teaspoon Pure Vanilla Extract
- 1 ¼ cups All-Purpose Flour
- ¼ teaspoon Salt
- 20 Hershey Kisses, Brach's Chocolate Baking Stars or Ghirardelli Baking Milk Chocolate Thumbprint Drops
Instructions
- Preheat oven to 375℉. Spray a cookie sheet with cooking spray or line it with parchment paper or a silicone mat.
- Cream butter and brown sugar together in an electric mixer or with a hand mixer until it is light and fluffy. Add vanilla and egg yolk and mix on a low speed.
- In a separate bowl, whisk together flour and salt. Slowly add the flour mixture to the mixing bowl and blend well on low.
- Roll dough into 1" balls and place them 1" apart on a cookie sheet. I like using a small cookie scoop to get the right amount and then rolling it in my hands to get each one the same size.
- Bake for 6 minutes. Remove the pan from the oven and press a chocolate Kiss or star on each cookie while it is still hot. Place it back in the oven for 2-3 additional minutes until the cookie is set.
- Move cookies to a cooling rack until completely cooled. Store in an airtight container.
Angie says
I was confused by the recipe as I followed instructions exactly and the dough would not come together. Overbeating the dough lead to these coming out rock hard! It seems there is not enough liquid in the batter but please let me know if I’m missing something
Tiffany says
Hello Angie. I’m sorry the dough did not turn out for you!
At first, the dough is rather dry and flaky, but as the half cup of butter warms it will moisten the dough, but the dough should not stick to the sides of the bowl. It should be a somewhat firm cookie dough that can be used to form balls or like a cookie-cutter dough.
Also, I should have specified to use all-purpose flour (any baker’s terrible mistake!) and have updated the recipe to reflect this. I am wondering if that is the cause of the hard dough if you used a different type because that can lead to very different results.
– Tiffany