


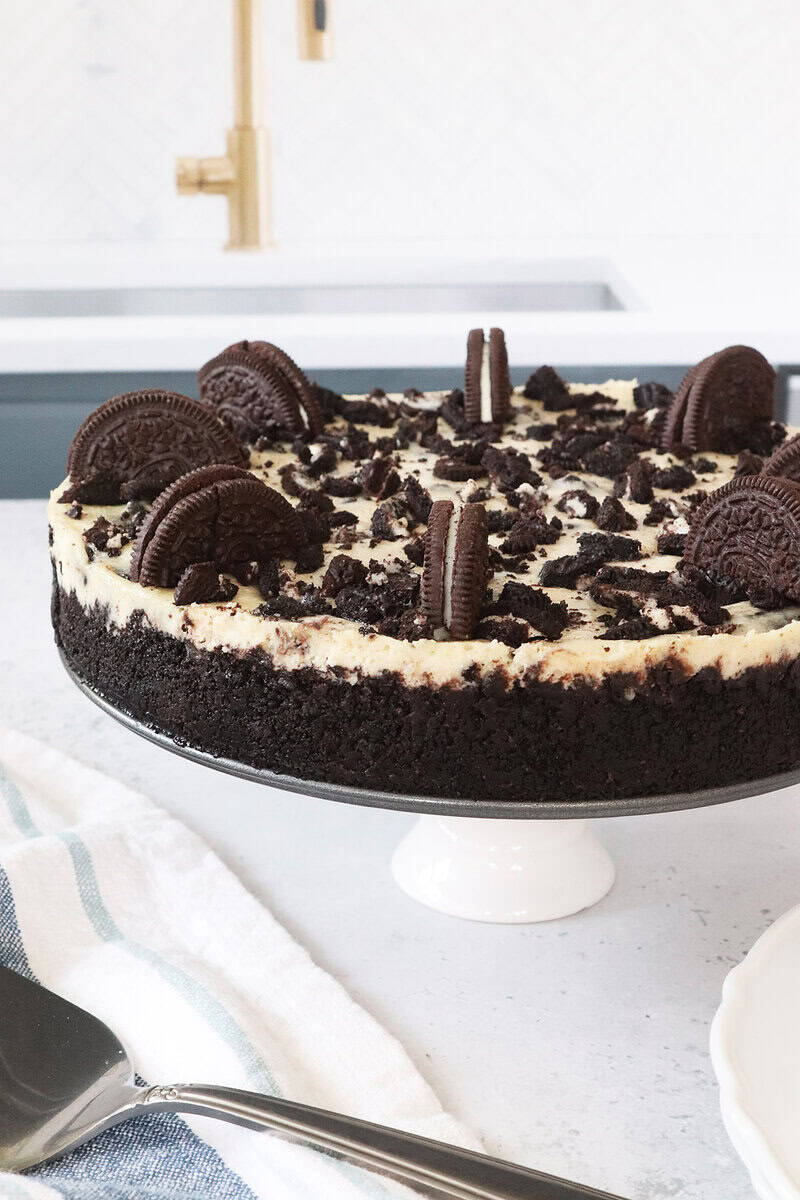
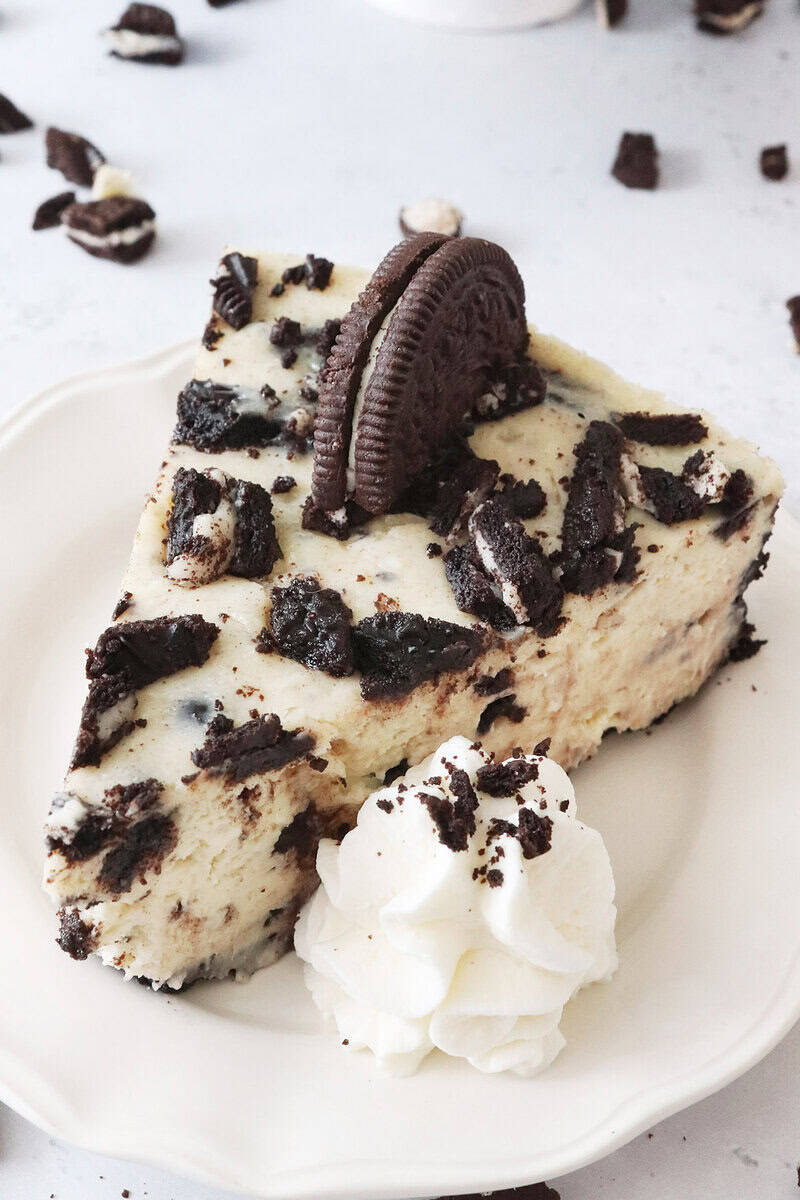
Rich and creamy Oreo cheesecake that has a buttery Oreo cookie crust and a cheesecake filling loaded with chunks of Oreo cookies. It’s a great make-ahead dessert that’s perfect for holidays, birthdays, or any occasion.
If you love Oreo desserts, be sure to try my mini Oreo cheesecakes for a fun, individual-sized treat! My Oreo bottom cupcakes are another favorite, featuring a whole Oreo cookie baked into each cupcake. For even more cookies and cream goodness, try my rich and creamy Oreo fudge or soft Oreo drop cookies!
Ingredients
- Regular Oreos
- Unsalted Butter
- Cream Cheese
- Granulated Sugar
- Sour Cream
- Pure Vanilla Extract
- Large Eggs
How to Make Oreo Cheesecake
Oreo Crust
- Separate the fillings (save them for later) from 24 Oreo cookies and place the chocolate wafers in a food processor to blend into fine crumbs.
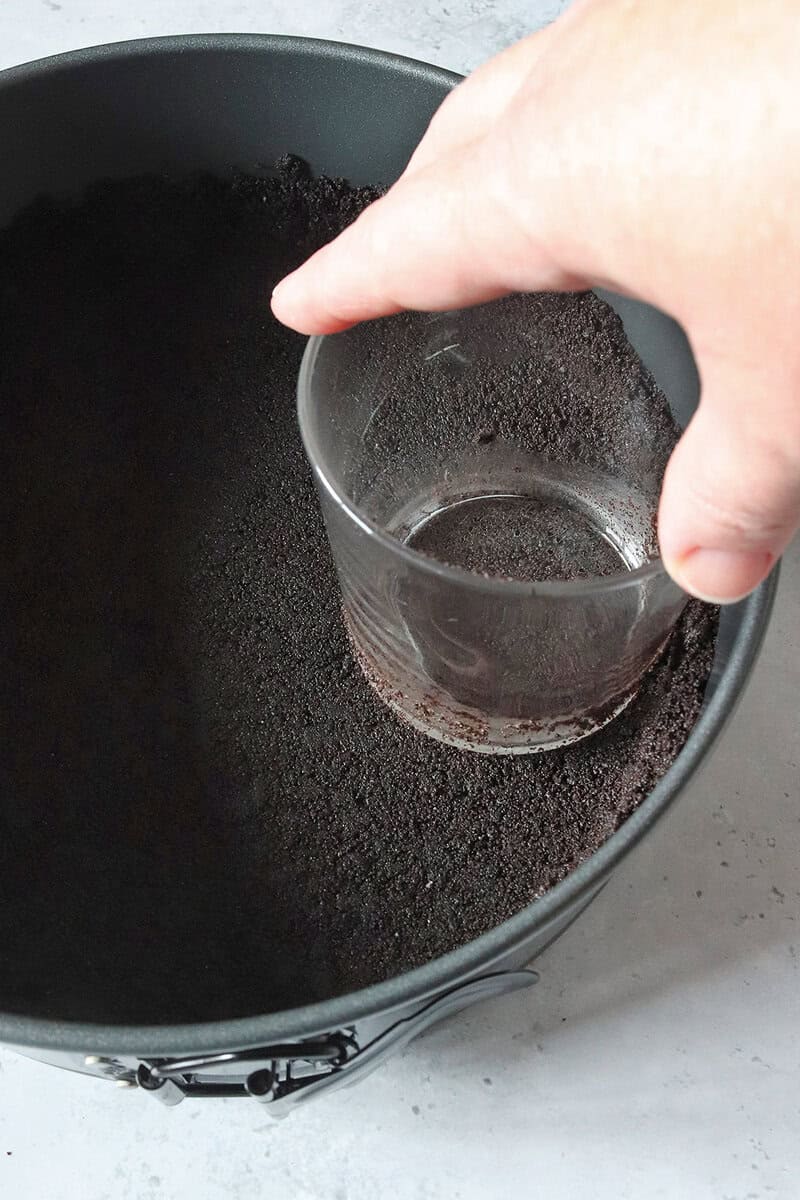
- Mix Oreo crumbs and melted butter, then press into the bottom of a 9″ springform pan.
- Bake the crust for 10 minutes at 325°F
Oreo Cheesecake
- In a large mixer, blend cream cheese and sugar until creamy. Add sour cream, vanilla, reserved Oreo fillings, and then blend.
- Add each egg to the mixture and blend just until incorporated. Avoid overmixing to prevent too much air from being added to the batter. This will cause it to crack when it bakes.
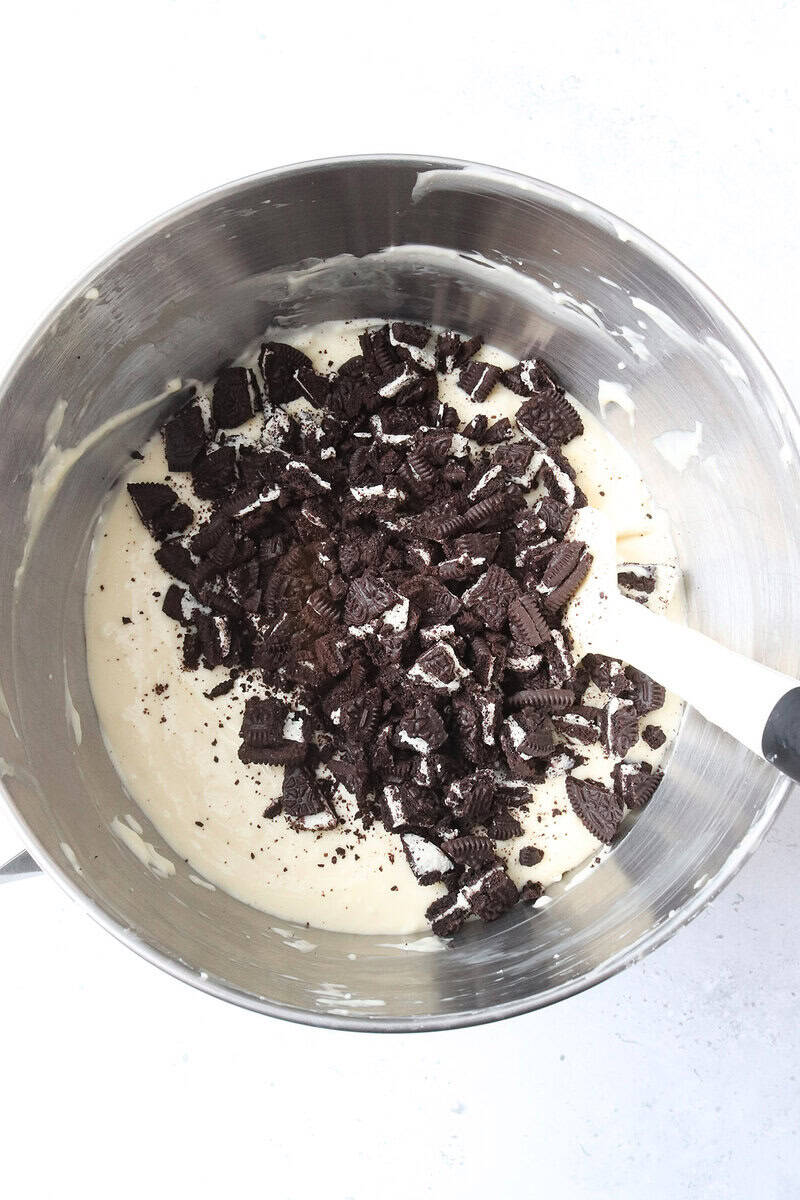
- Add 10 roughly chopped Oreos and fold them into the batter with a spatula.
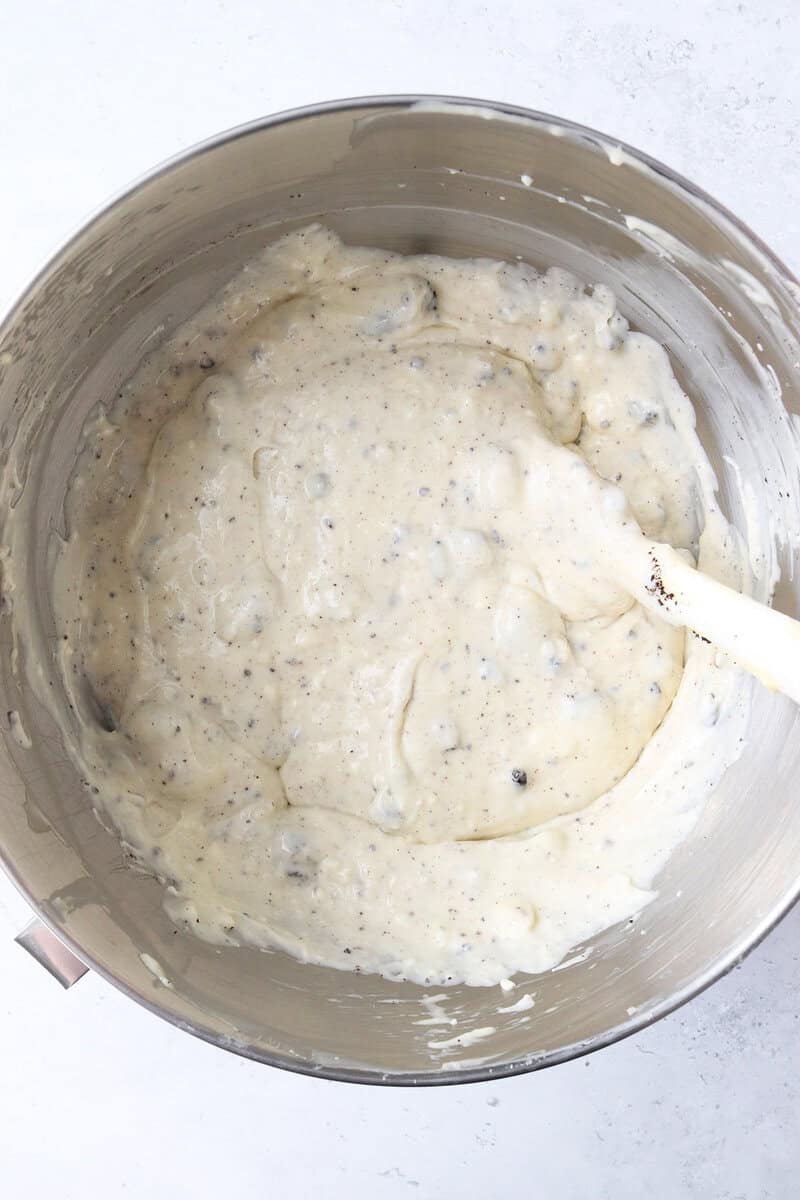
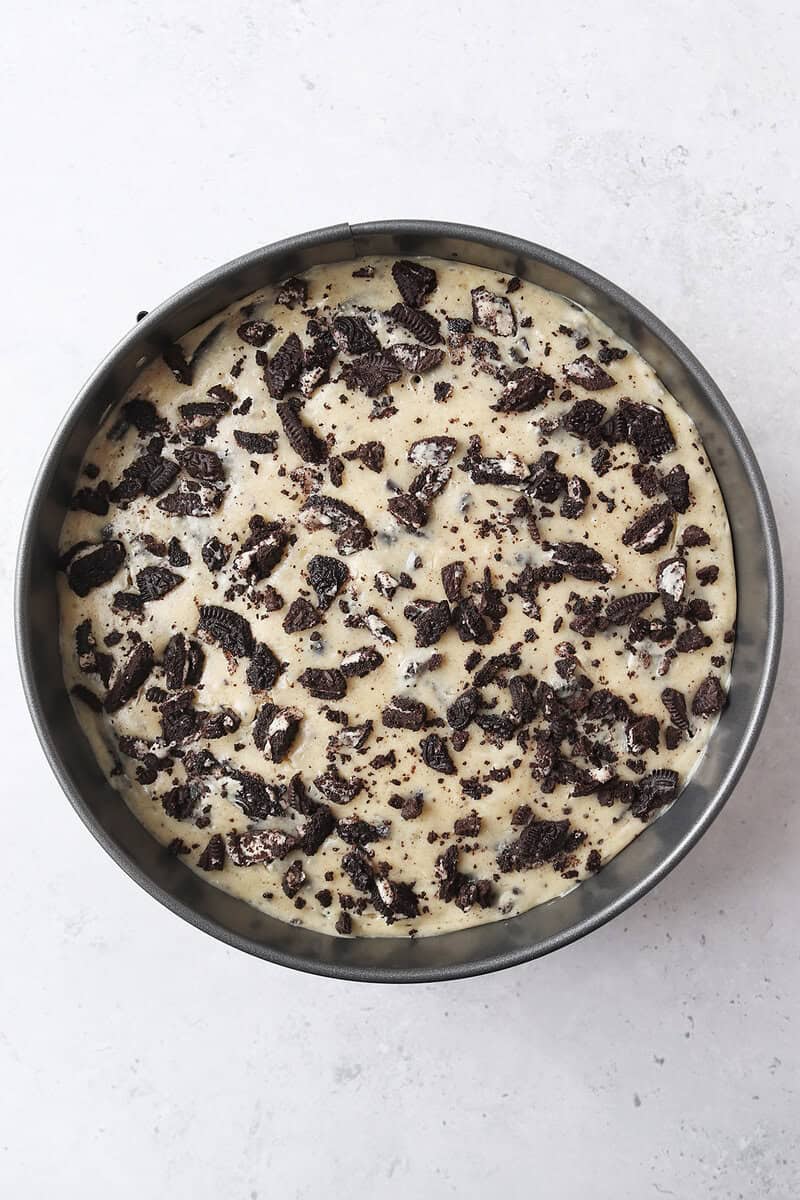
- Pour the batter over the cooled Oreo crust in the springform pan. Sprinkle the 4 remaining chopped Oreos over the top of the cheesecake.
- Wrap the springform with aluminum foil. Place the springform pan into a large roasting pan. Add boiling water to the roasting pan so that it is halfway up the sides of the springform.
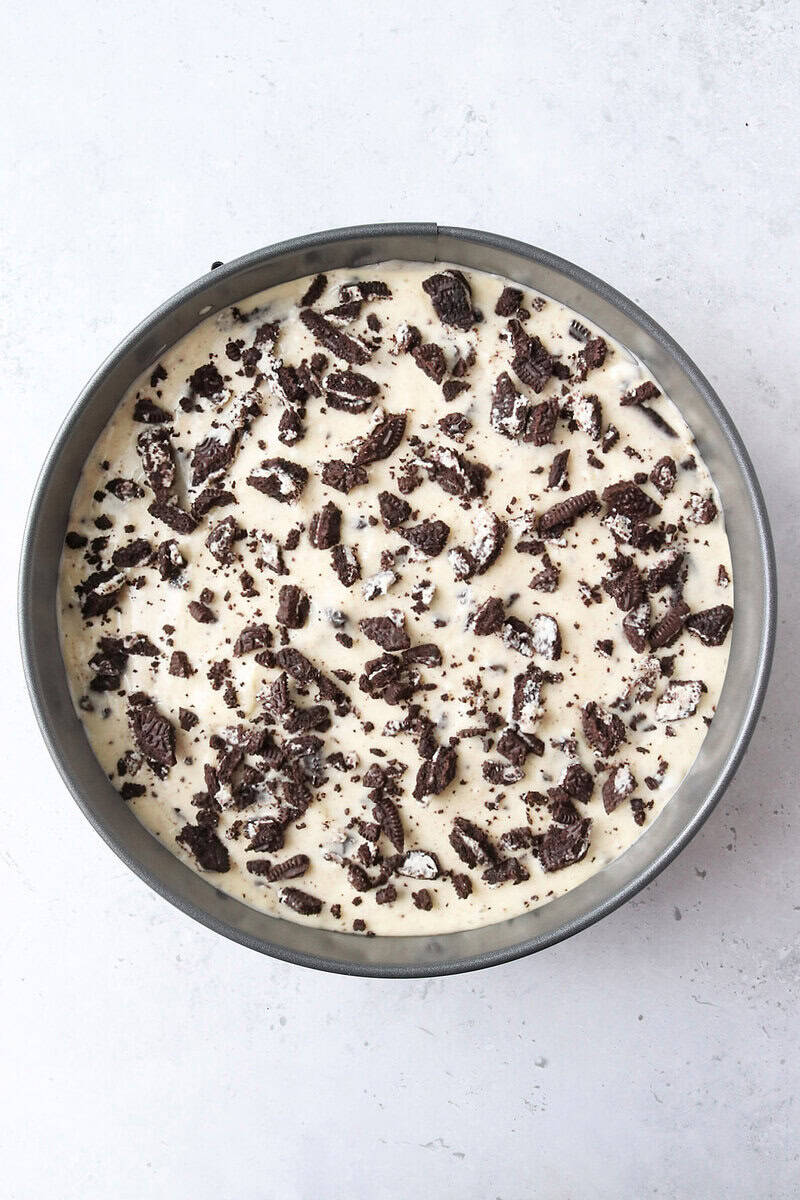
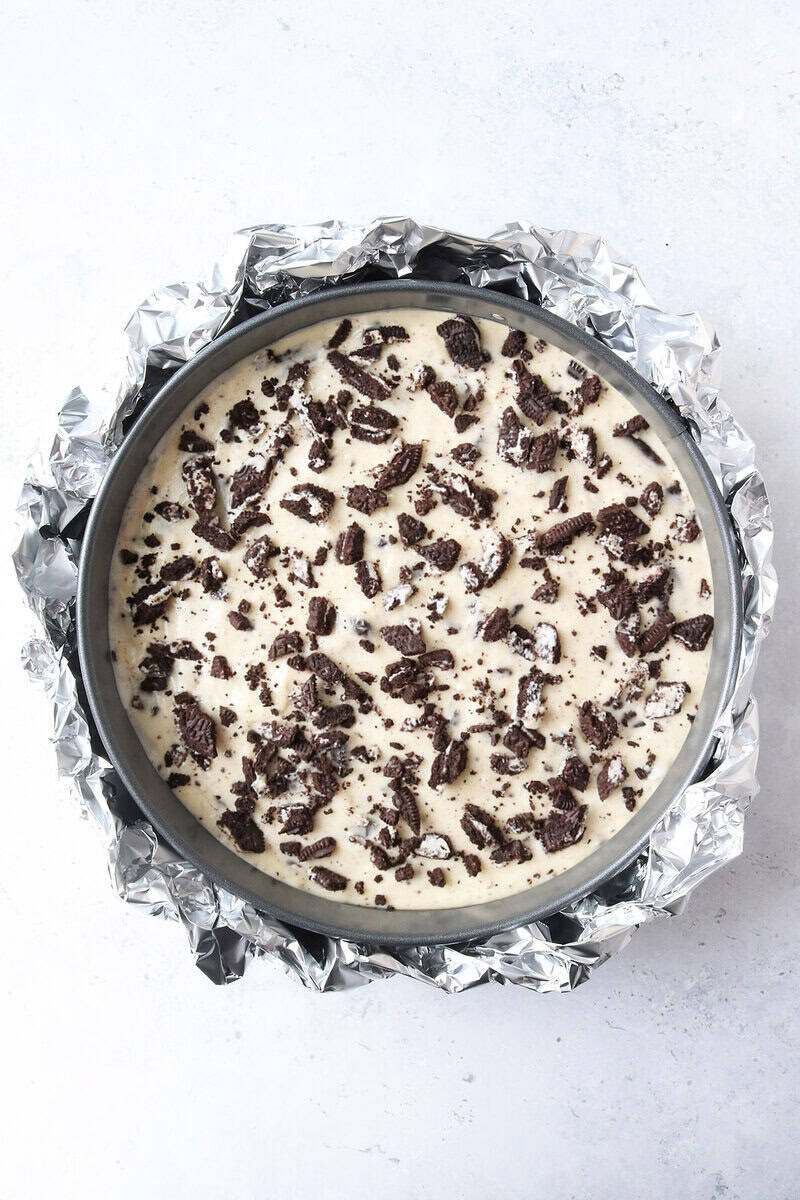
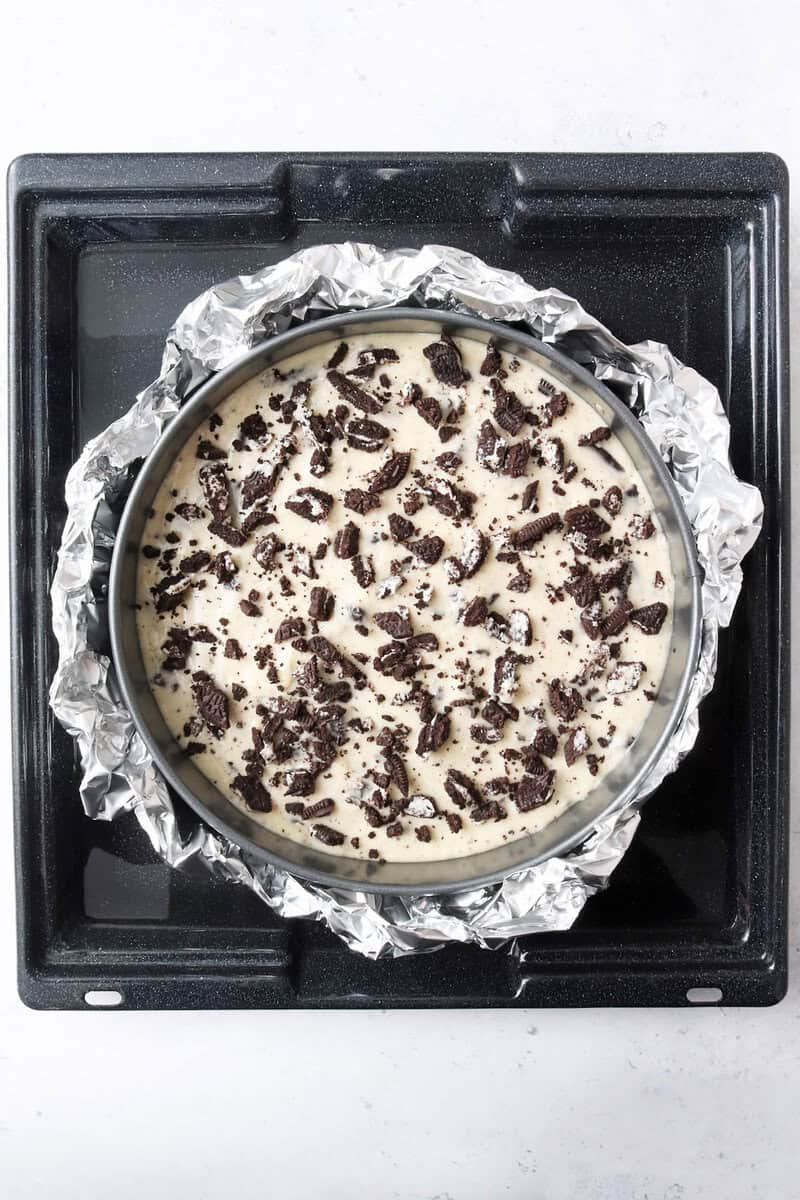
- Bake the cheesecake at 300°F for approximately 65-80 minutes. Begin checking it after 65 minutes. The outer edges should be set while the center still has a gentle wobble.
- Turn off the oven and crack the door open. Let the cheesecake sit inside for 1 hour, then let it come to room temperature on the counter. Refrigerate it for at least 6 hours, if not overnight, to fully set.
Tips for Making Oreo Cheesecake
Use room-temperature ingredients. Allow the cream cheese, eggs, and other refrigerated ingredients to come to room temperature before mixing. This helps create a smooth, creamy cheesecake filling without lumps.
Use full-fat cream cheese. Brick-style cream cheese works best for a rich, thick cheesecake. Don’t use whipped or spreadable cream cheese, which can affect the texture and consistency.
Crush the Oreos finely for the crust. A food processor works best for creating fine, even crumbs that hold together when combined with melted butter. Press the mixture firmly into the bottom of the springform pan.
Don’t overmix the cheesecake batter. Beat the cream cheese and sugar until smooth, but once the eggs are added, mix on low speed just until combined. Overmixing incorporates excess air, which can cause the cheesecake to rise and crack during baking.
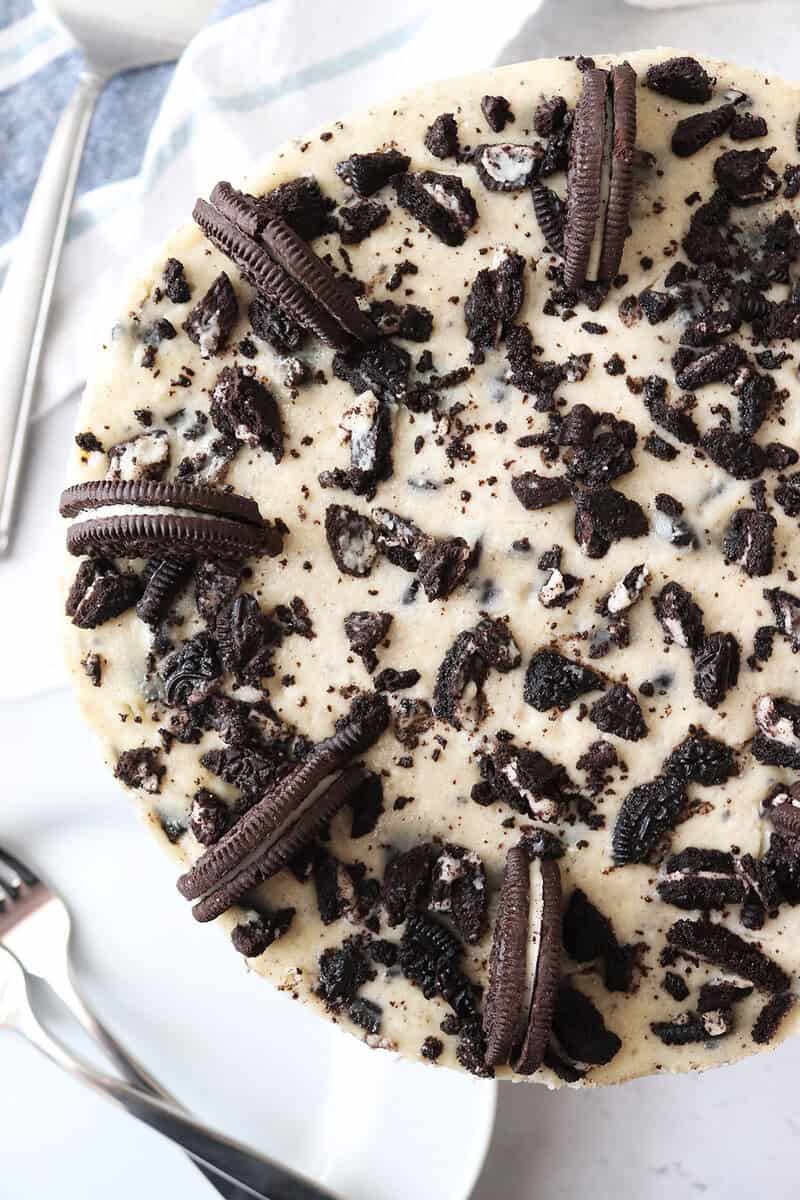
Fold in the chopped Oreos last. Gently fold the Oreo pieces into the cheesecake batter with a spatula. Avoid crushing them too finely so you get noticeable chunks of cookies throughout each slice. Then sprinkle extra Oreo pieces on top.
Avoid overbaking. The edges of the cheesecake should look set while the center still has a slight jiggle when gently shaken. The cheesecake will continue to firm up as it cools.
Cool the cheesecake gradually. Once the cheesecake is finished baking, turn off the oven and leave the cheesecake inside with the door slightly cracked for 1 hour. This helps prevent sudden temperature changes that can cause cracks.
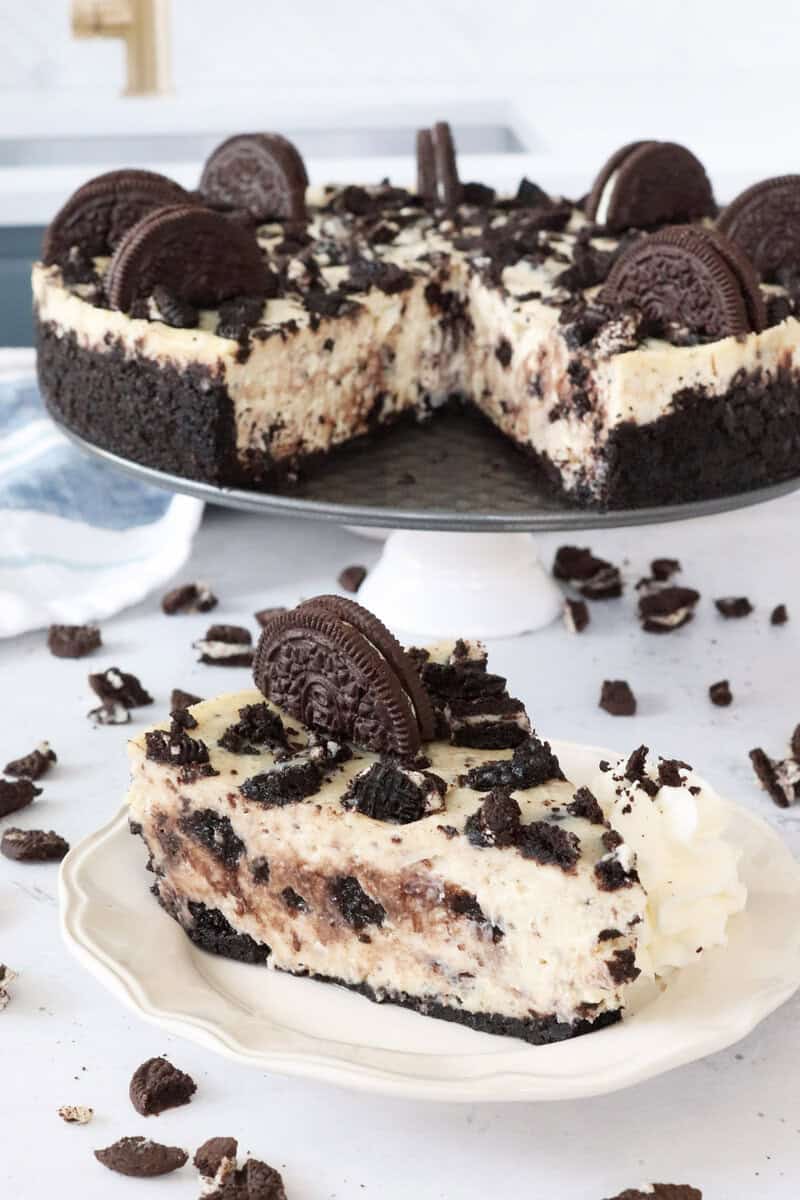
Refrigerate before slicing. Chill the cheesecake for at least 6 hours, preferably overnight, to allow it to fully set. This also makes it easier to slice into clean, even pieces.
Use a warm knife for clean slices. Dip a sharp knife in hot water, wipe it dry, and slice the cheesecake. Clean the knife between each cut to prevent the Oreo filling and cheesecake from smearing.
Add toppings just before serving. If you’re decorating the cheesecake with whipped cream, chocolate ganache, or additional Oreo cookies, add the whipped cream and cookie decorations shortly before serving. This helps keep the cookies from softening in the refrigerator.
Recommended Recipes
- Christmas Cheesecake
- Mini Cheesecake Sandwiches
- New York-Style Cheesecake
- Salted Caramel Cheesecake with Oreo Cookie Crust
Oreo Cheesecake
Equipment
Ingredients
Oreo Crust
- 24 Oreos finely crushed; reserve filling for cheesecake
- 5 tablespoons Unsalted Butter melted
Oreo Cheesecake Filling
- 24 ounces Cream Cheese room temperature
- 1 cup Granulated Sugar
- ¾ cup Sour Cream
- 2 teaspoons Pure Vanilla Extract
- 3 Large Eggs room temperature
- 14 Oreos roughly chopped and divided: 10 for cheesecake and 4 for sprinkled topping
Optional Topping
- 4 Oreos cut in half for topping
Instructions
Oreo Crust
- Separate the fillings (save them for later) from 24 Oreo cookies and place the chocolate wafers in a food processor to blend into fine crumbs.
- Mix Oreo crumbs and melted butter, then press into the bottom of a 9" springform pan.
- Bake the crust for 10 minutes at 325°F
Oreo Cheesecake
- In a large mixer, blend cream cheese and sugar until creamy. Add sour cream, vanilla, reserved Oreo fillings, and then blend.
- Add each egg to the mixture and blend just until incorporated. Avoid overmixing to prevent too much air from being added to the batter. This will cause it to crack when it bakes.
- Add 10 roughly chopped Oreos and fold them into the batter with a spatula.
- Pour the batter over the cooled Oreo crust in the springform pan. Sprinkle the 4 remaining chopped Oreos over the top of the cheesecake.
- Wrap the springform with aluminum foil. Place the springform pan into a large roasting pan. Add boiling water to the roasting pan so that it is halfway up the sides of the springform.
- Bake the cheesecake at 300°F for approximately 65-80 minutes. Begin checking it after 65 minutes. The outer edges should be set while the center still has a gentle wobble.
- Turn off the oven and crack the door open. Let the cheesecake sit inside for 1 hour, then let it come to room temperature on the counter. Refrigerate it for at least 6 hours, if not overnight, to fully set.
- Optionally, cut 4 additional Oreos in half and add them as an evenly spaced topping as shown in the photos above.




Leave a Reply